
Lighting
How to Clean and Polish Headlights for Better Lighting
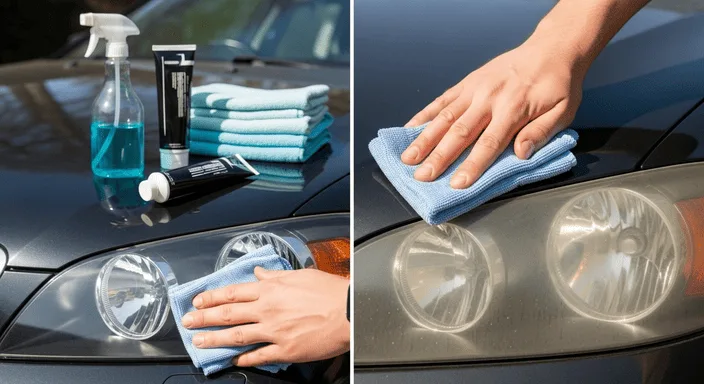
Weak headlights during night driving are one of the things that bother drivers most, and they lower your safety on the road. Many people think the problem is the bulb itself or the car's electrics. In fact, the cause is often simpler: the headlight lenses get dirty or turn yellow over time. This is why it helps to know how to clean and polish headlights, so you can restore clear lighting and see better while driving.
Caring for the lenses does not need complicated tools or a high cost. With simple steps, you can check your headlights yourself and find out whether they need cleaning or polishing to restore clear light. This small step makes a big difference to your driving, especially when you travel at night or drive on poorly lit roads.
Here you will learn practical ways to check and clean your headlights and improve the lighting with the simplest tools, plus tips to remove yellowing and keep the lenses clear for as long as possible.
Why you should check your headlights regularly
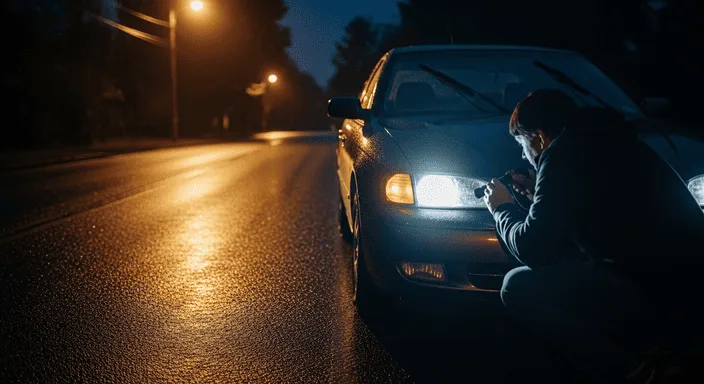
Why do the lenses need checking?
Headlights are a key part of your safety on the road. Any drop in lighting means you see less detail ahead of you, and the risk goes up. Dirt and yellowing on the lenses reduce the strength of the light. Clean lenses also give your car a better look and show that you take care of it.
Steps to check your headlights yourself
To check your headlights yourself is a simple job that does not take long:
- Daylight inspection: Look at the lenses in broad daylight. If you see haze or yellowing, that is a clear sign they need cleaning.
- Night light test: Turn on the headlights in a dark place and note how strong the light is. If it is scattered or weak, the lenses need care.
- Compare both sides: Check for a difference between the two headlights, since one may be more affected by outside conditions than the other.
If you check your headlights yourself regularly, you will catch any problem early and avoid poor visibility or having to replace the headlights completely. Read also: Caring for the paint of your car: 7 ways to protect and polish the paint for more tips on keeping your car's body shining.
How to clean your headlights yourself
When you notice weak lighting or hazy lenses, the first fix to try is a simple clean at home. The steps for how to clean your headlights yourself need no special equipment:
- Wash the lenses with warm water and soap to remove dust and dirt.
- Dry them with a microfiber cloth so no scratches appear.
- Try toothpaste as a home fix to remove the surface layer of yellowing.
- Rinse with water: Wash the headlights with clean water to remove any leftover toothpaste.
- After cleaning, check the lighting at night to make sure it is clearer.
The result: simple, effective steps that show how to clean your headlights yourself does not take much effort, yet it gives you safer driving and clearer light.
How to clean and polish headlights
In some cases, cleaning alone is not enough. If the lenses stay hazy or yellow, you need a deeper approach to how to clean and polish car headlights:
- Check first: If the yellowing is light, normal cleaning may work. If it is heavy, polishing is necessary.
- Polishing at home: Use dedicated tools available on the market to remove the yellow layers and restore clarity.
- Temporary fixes: Many people try cleaning car lights with toothpaste, but the result does not last long.
- Professional service: Polishing and care services give clearer and longer-lasting results than home fixes.
Polishing is different from cleaning: it brings the lenses close to their original condition and extends their life, instead of just removing surface dirt.
How do you remove the yellow layer from the front of your car's headlights?
The yellow layer is one of the most common problems drivers face. Its main cause is constant exposure to the sun, along with humidity and other environmental factors. To deal with it, you need different steps from cleaning or polishing:
- Dedicated chemical products: Available in car care shops and used to dissolve deep yellowing.
- Fine sandpaper: Used carefully to remove the damaged layers of the lens, which is then finished with a clear protective coat.
- Specialist service: If the yellowing is severe and the methods above do not remove it, the solution is a professional yellowing removal service that restores the headlights' clarity.
Knowing how to remove the yellow layer from the front of your car's headlights helps you see better at night and gives your car a newer, better-kept look.
When do you need to replace the lenses and adjust the lighting?
Signs you need a replacement
Cleaning or polishing does not work in every case. Sometimes replacement is the only solution. Watch for these signs:
- Deep scratches or visible cracks.
- Water or dust getting inside the lens.
- Lighting that stays weak despite cleaning and polishing.
Why you should adjust the lighting after maintenance
After any cleaning, polishing or replacement, do not forget to readjust the direction of the headlights. This simple step makes sure the light points the right way, gives you clear vision and does not dazzle other drivers.
Conclusion
Keeping your headlights clear starts with regular checks, moves on to cleaning at home, then polishing when needed, and ends with replacement in extreme cases. Cleaning car lights with toothpaste may work for a while, but professional solutions give you results that last longer.
Do not wait until your view gets poor or the lighting goes dim. You can book a car polishing service through Speero to restore your headlights' shine and improve the lighting, so you can drive more safely and confidently on the Kingdom's roads.
Frequently asked questions
1. What is the best way to clean and polish car headlights at home?
The best way is to use simple materials such as car soap and a soft cloth. You can try cleaning car lights with toothpaste as a temporary fix, and make sure to polish with dedicated products for a result that lasts.
2. How do I remove the yellow layer from the front of my car's headlights?
You can remove the yellow layer with toothpaste or with polishing products available in spare parts shops. Repeat the process several times if the layer is thick.
4. When do I need to replace my headlights instead of cleaning them?
If deep scratches or cracks appear, or the lighting stays weak despite cleaning and polishing, it is better to replace the headlights completely to stay safe while driving.
5. Does cleaning the headlights affect the car's look and value?
Yes. Cleaning your car's headlights keeps its exterior looking smart and makes the lighting clearer, which has a positive effect on its value at resale.
6. Can I use sandpaper to clean the lenses?
Very fine sandpaper (finer than 2000 grit) can be used in some cases to remove a thick yellow layer from the lens surface. But this method needs great precision and experience, because it can leave scratches if it is not used correctly. So it is better to rely on specialist polishing products or polishing and care services to avoid damaging the lenses.
Related articles
Lighting
Car dashboard warning lights meaning: a complete guide to every light
Learn what car dashboard warning lights mean, the main warning and alert signs, why they come on, and how to deal with them to keep your car safe.
5 min read Cooling
Water out of the radiator reservoir: 6 causes and radiator cap check
Coolant overflowing from the radiator reservoir usually means a failed cap or an overheating engine. Speero explains the 6 causes and how to check.
4 min read Cooling
Losing radiator water: 7 causes, even with no leak or overheating
Radiator coolant drops for 7 reasons, from the cap to the head gasket. This guide explains how to find the cause even with no visible leak and no overheating.
4 min read